Deploy JupyterHub Server with Keycloak on Amazon EC2
Login and start coding
Section titled “Login and start coding”Startup page
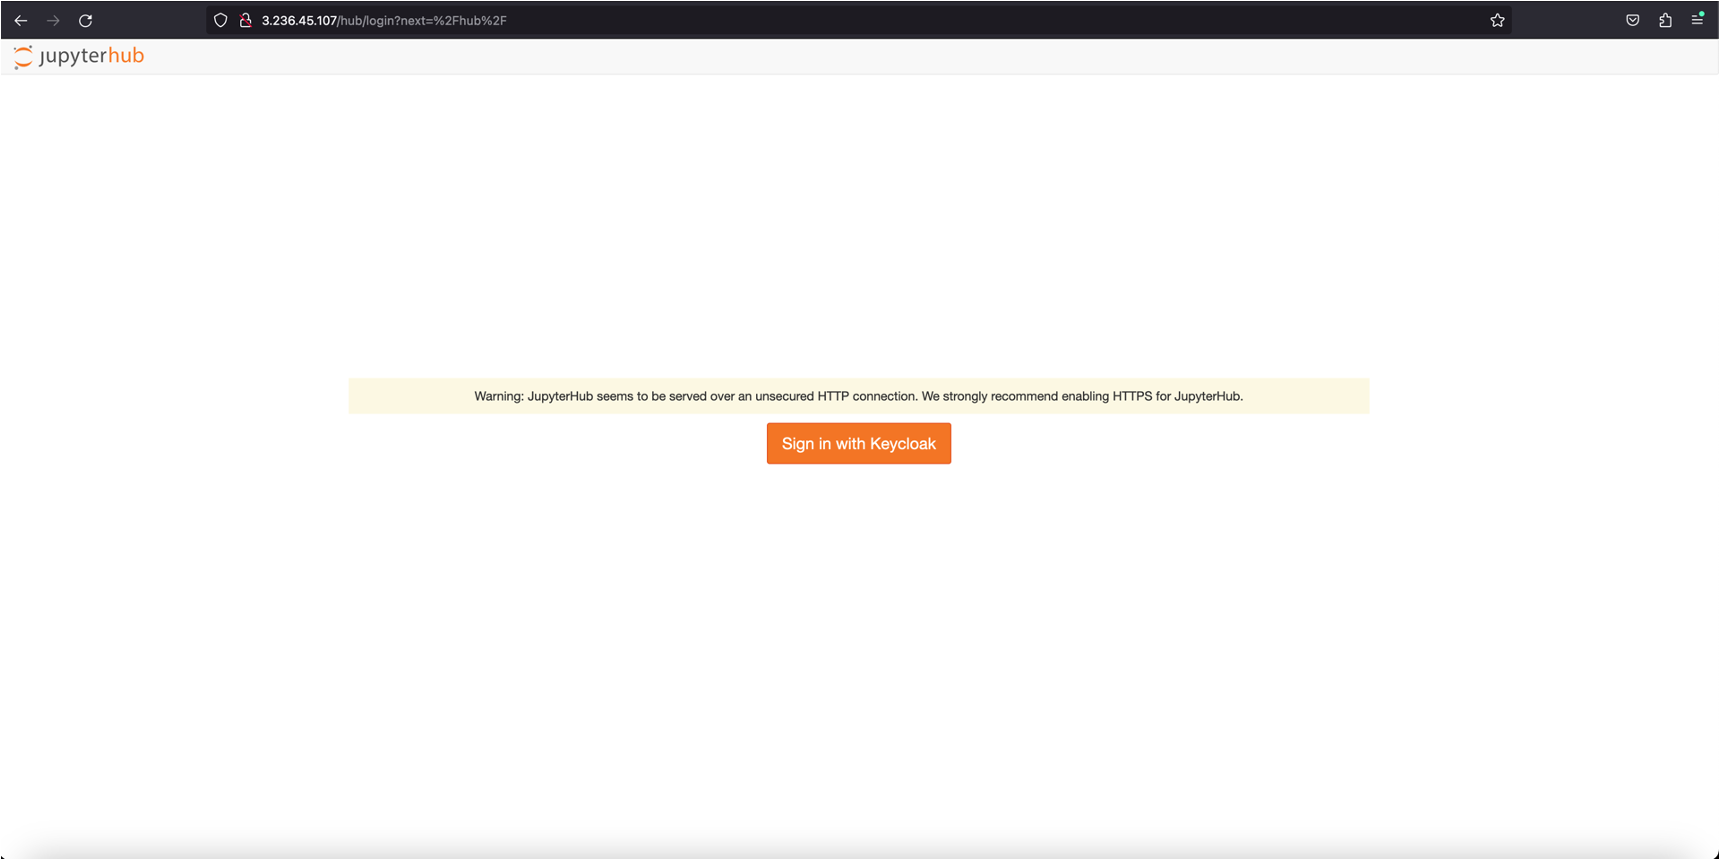
Section titled “Startup page”After the EC2 instance is started, you can access the JupyterHub Server with its public IP address. For example, if the IP address is 3.236.45.107, typing http://3.236.45.107 in the browser will bring you to the following startup page:
Credentials
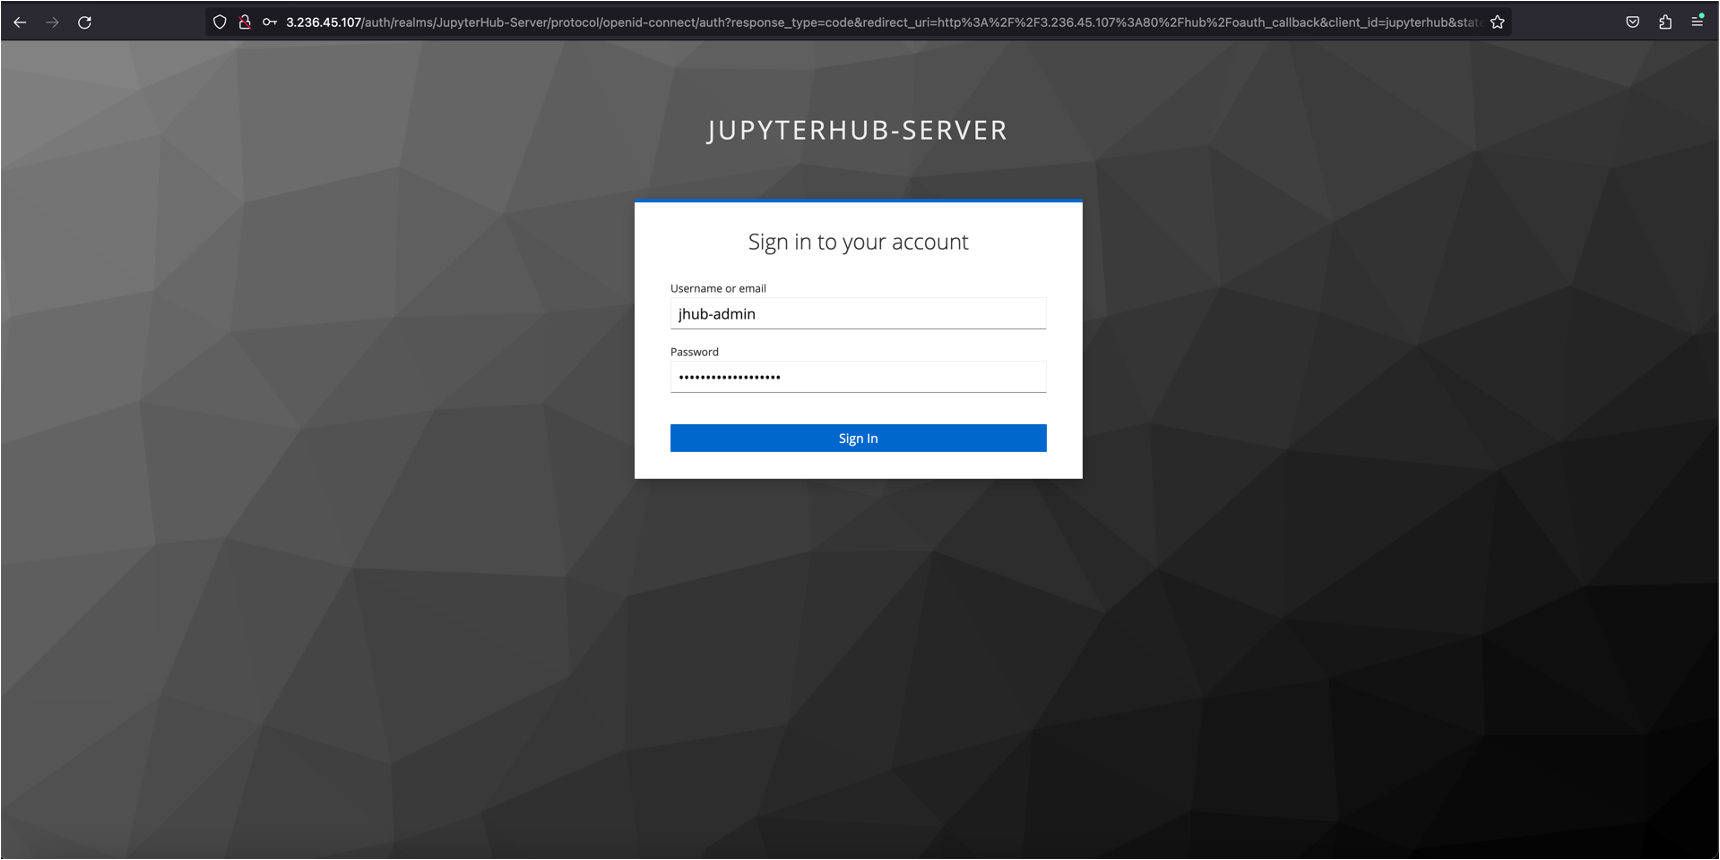
Section titled “Credentials”The preconfigured username and password are jhub-admin and the EC2 instance ID.
Change password
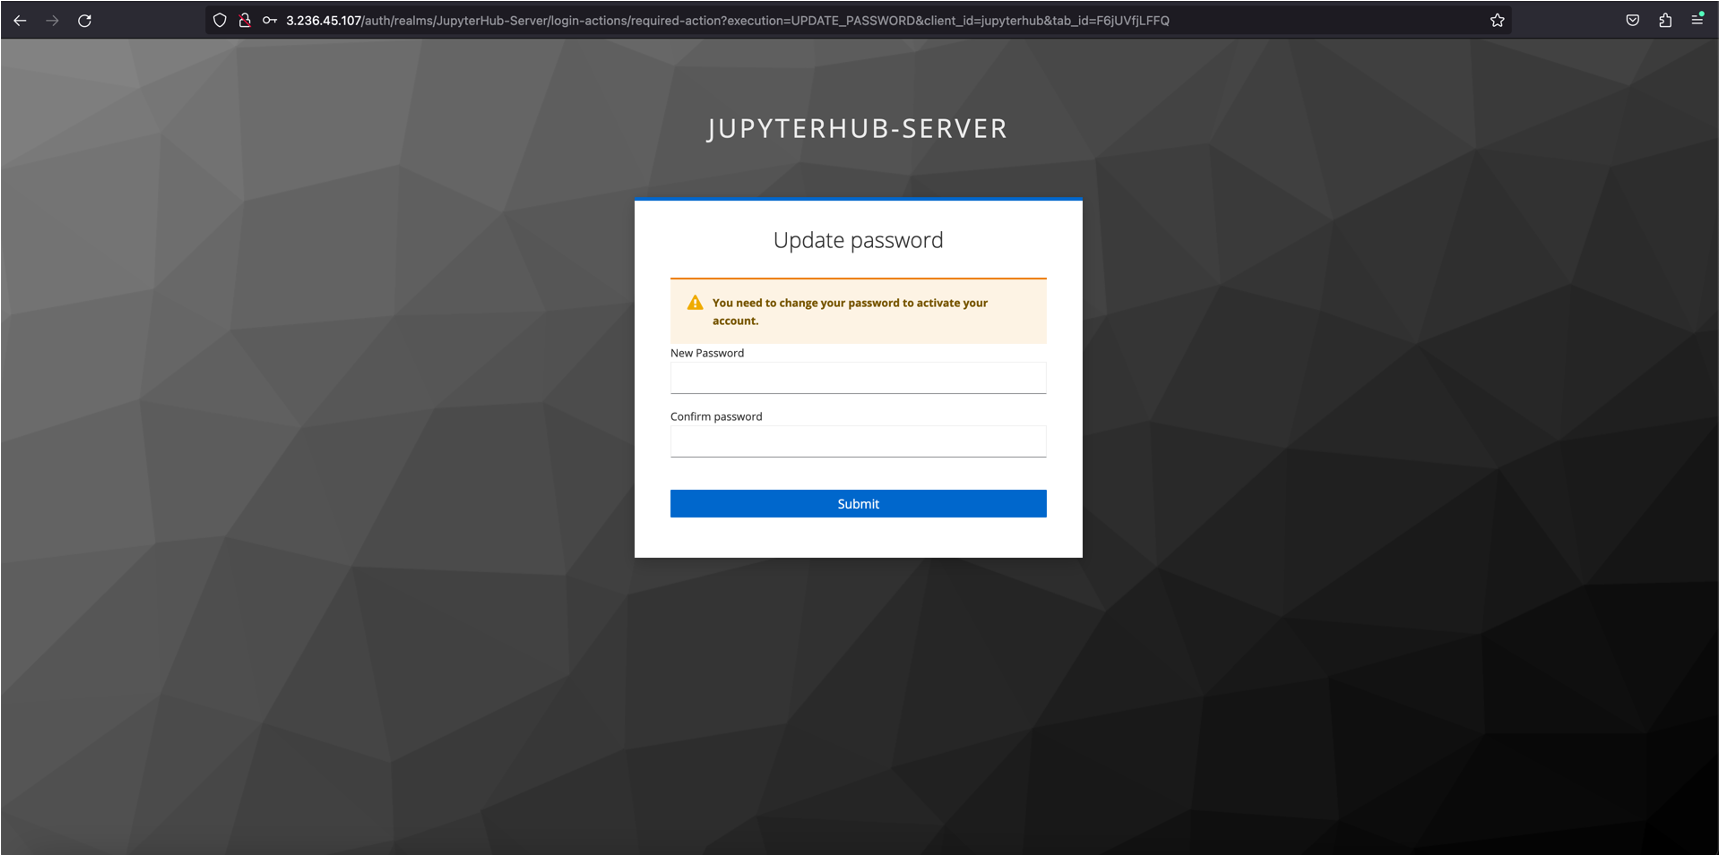
Section titled “Change password”If it is the first time for you to log in, you will be asked to change the password.
JupyterLab
Section titled “JupyterLab”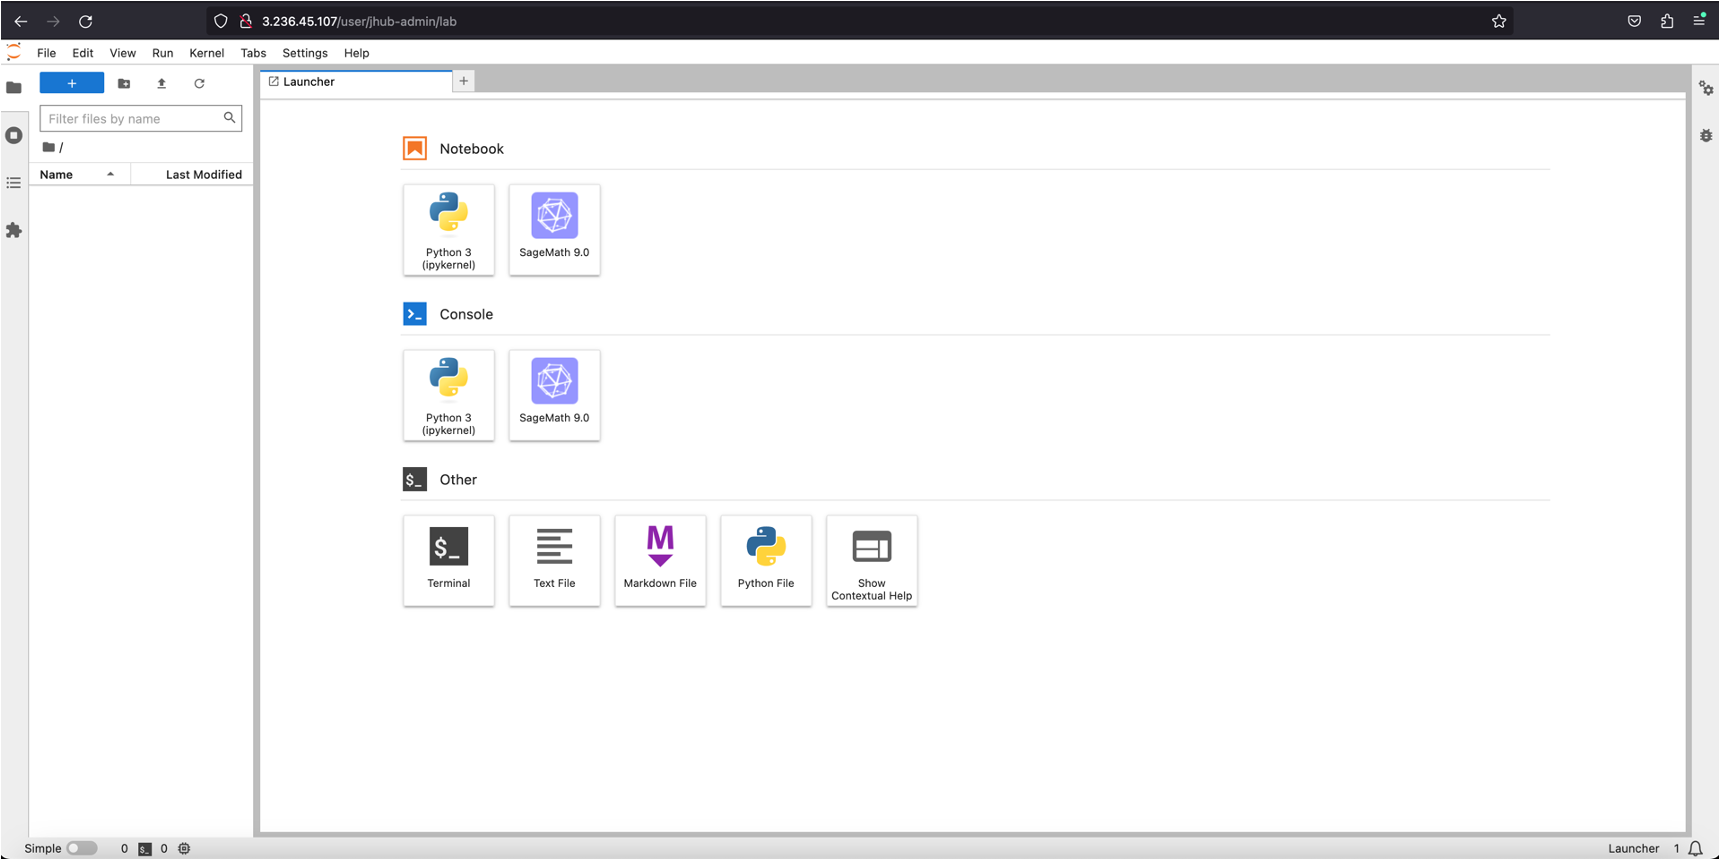
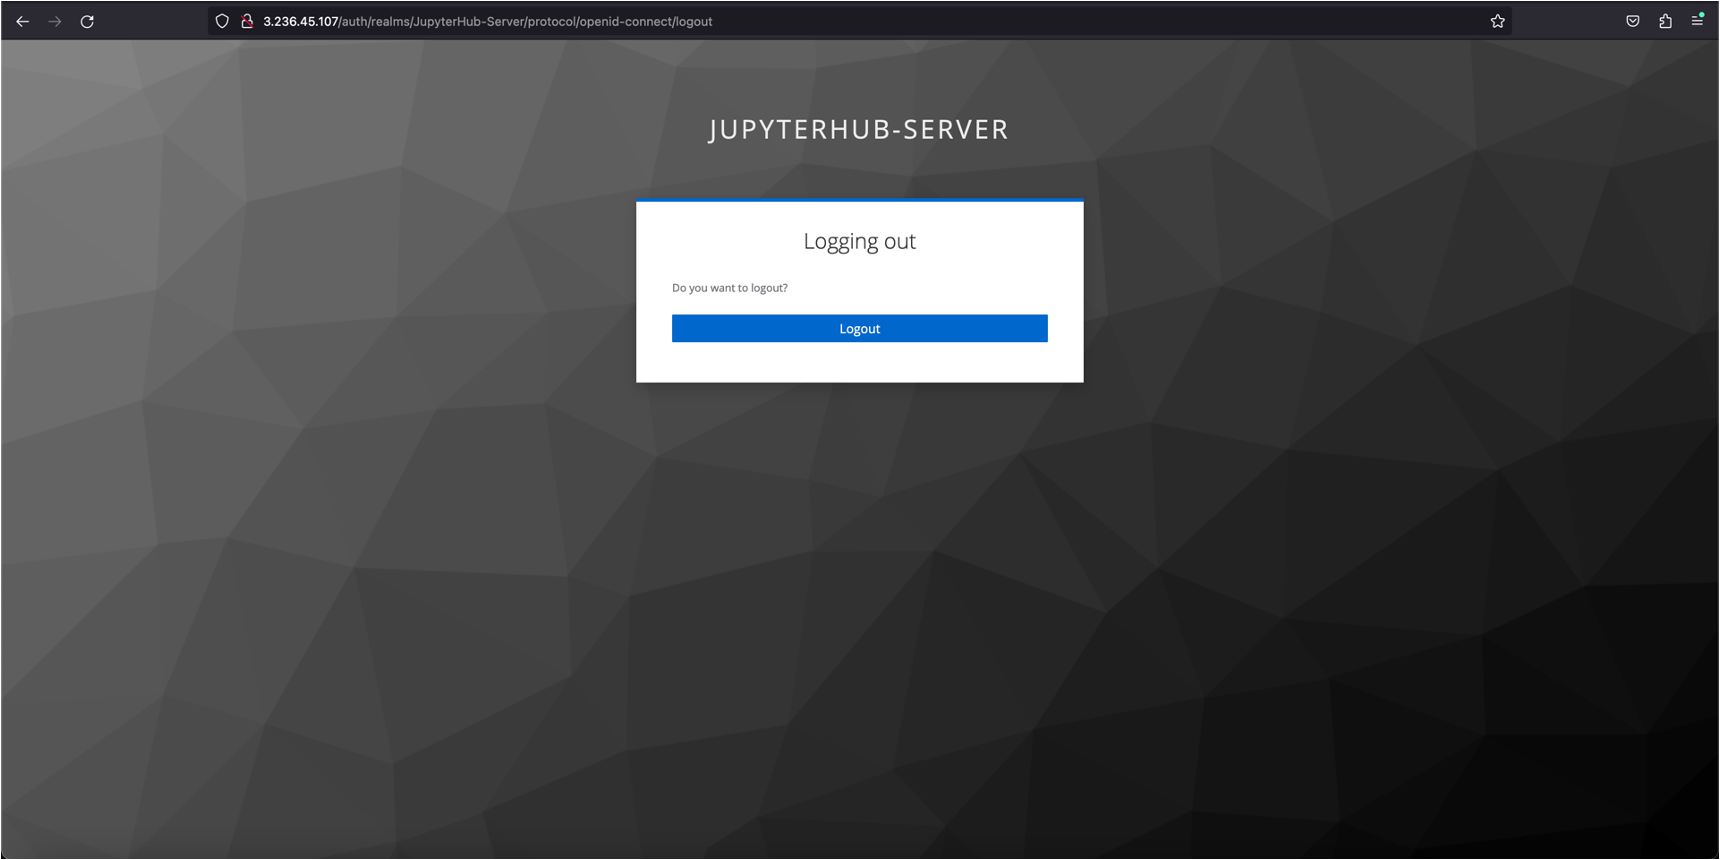
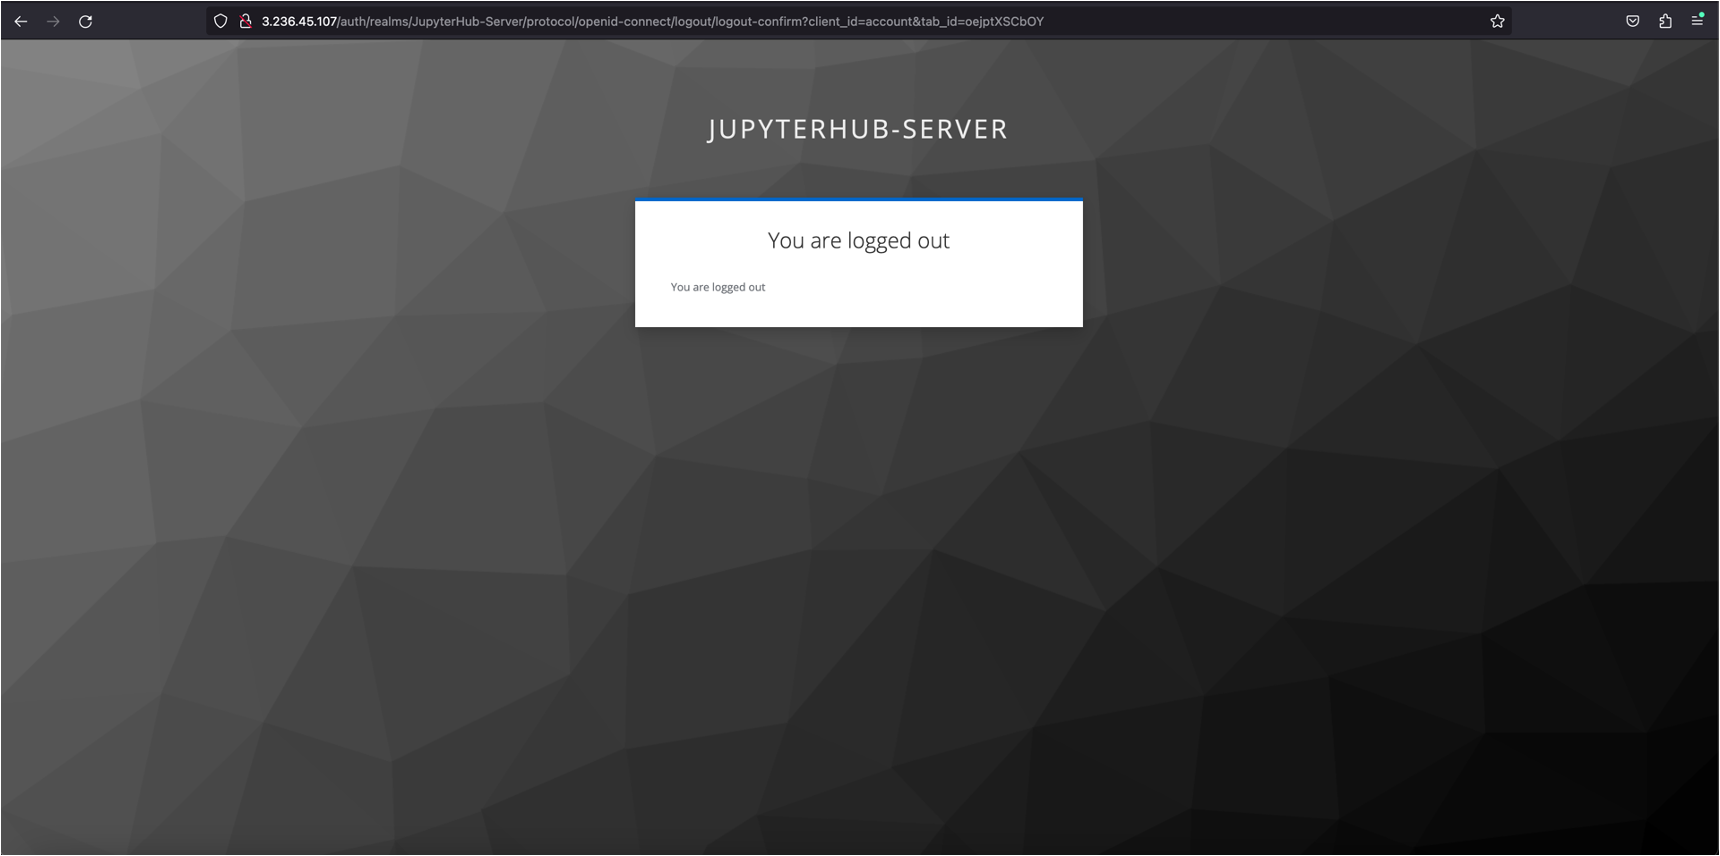
Logout
Section titled “Logout”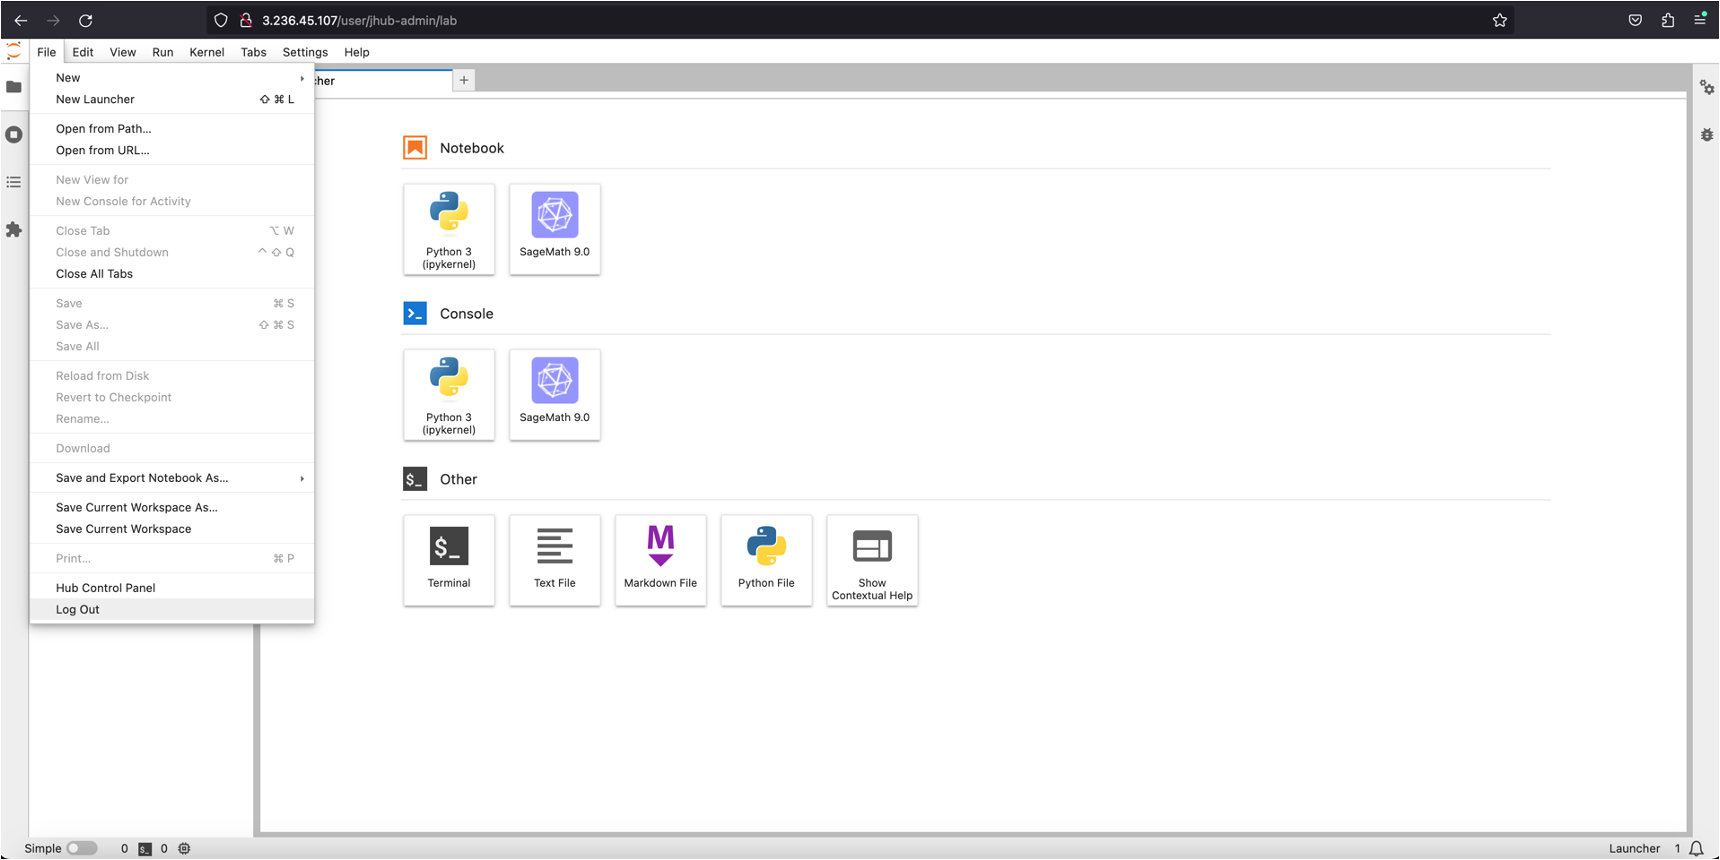
User management
Section titled “User management”Admin console
Section titled “Admin console”The admin console can be accessed through http://3.236.45.107/auth
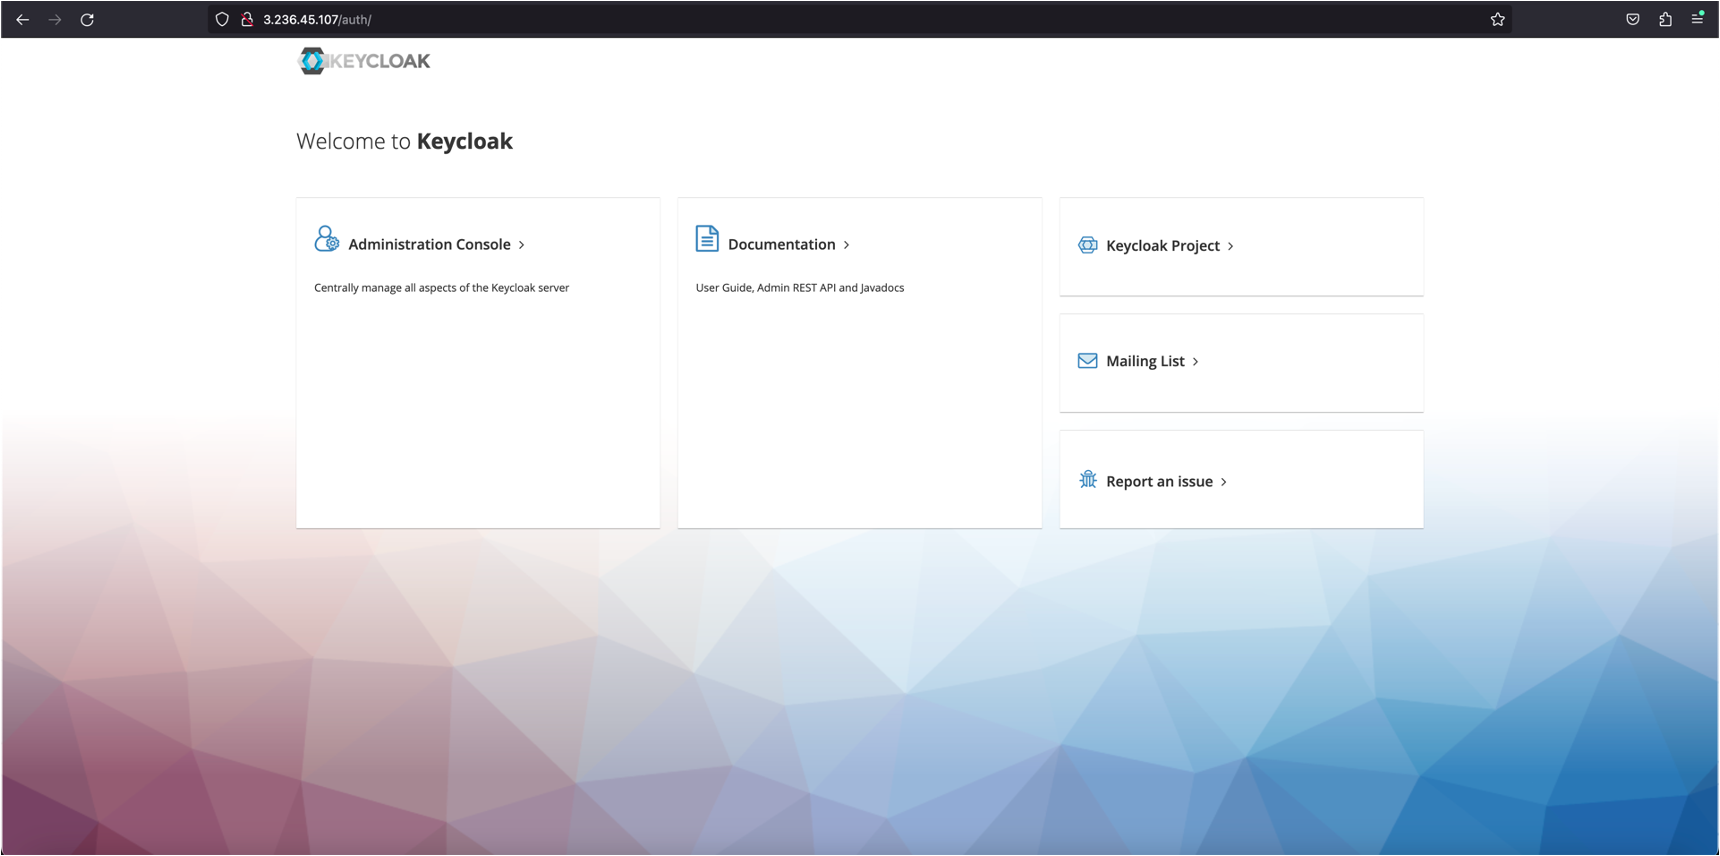
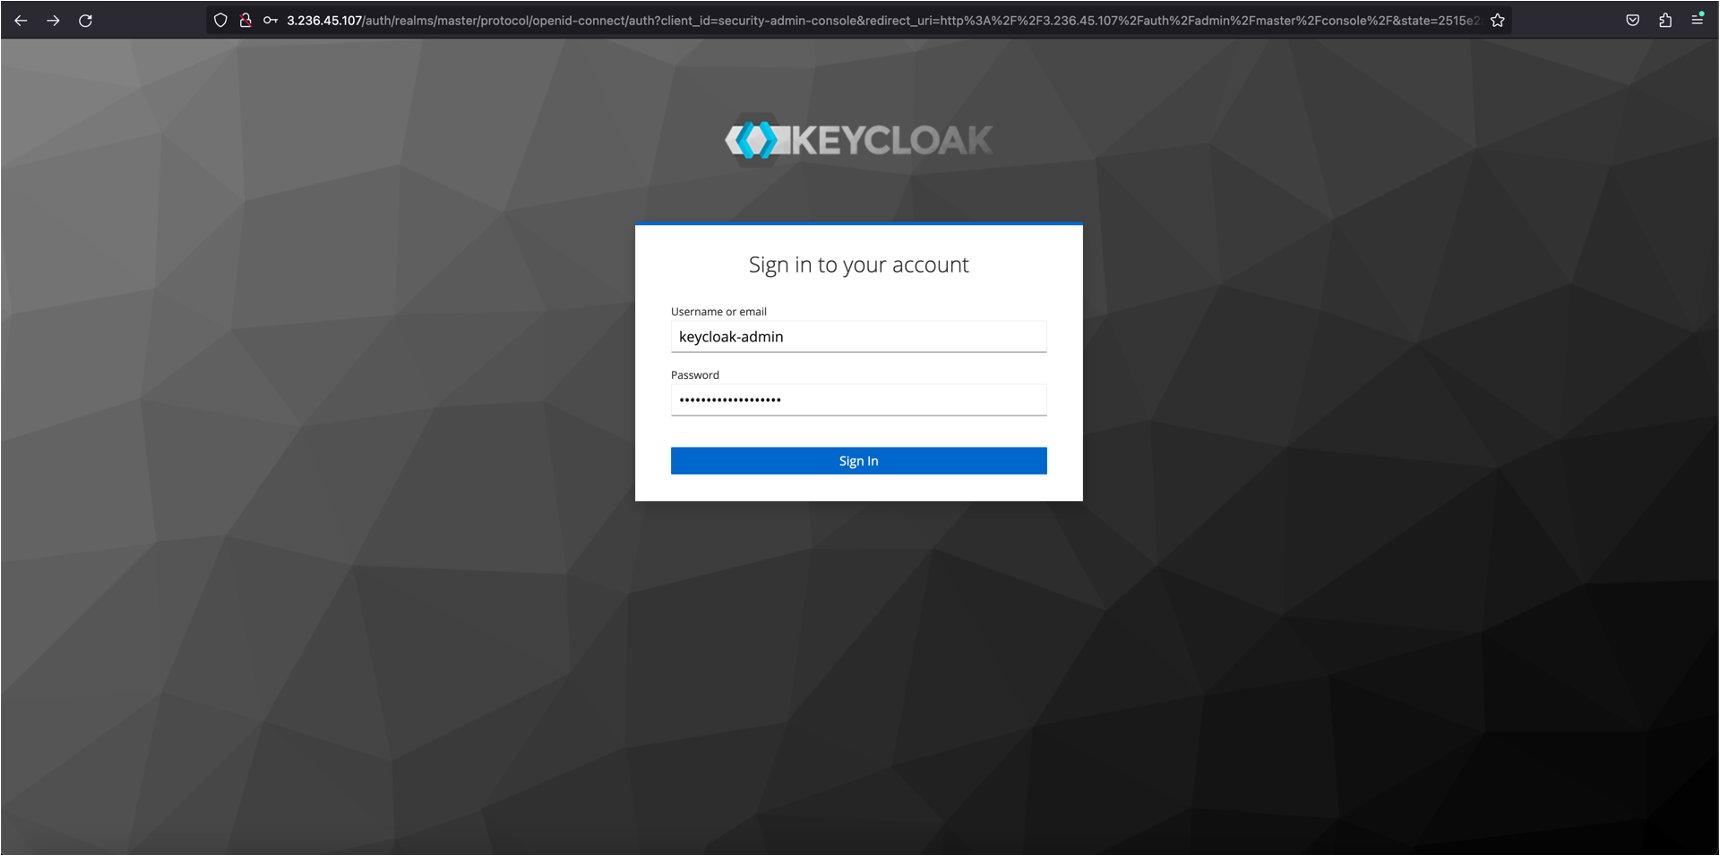
Credentials
Section titled “Credentials”The preconfigured username and password are keycloak-admin and the EC2 instance ID.
Switch to Realm JupyterHub-User
Section titled “Switch to Realm JupyterHub-User”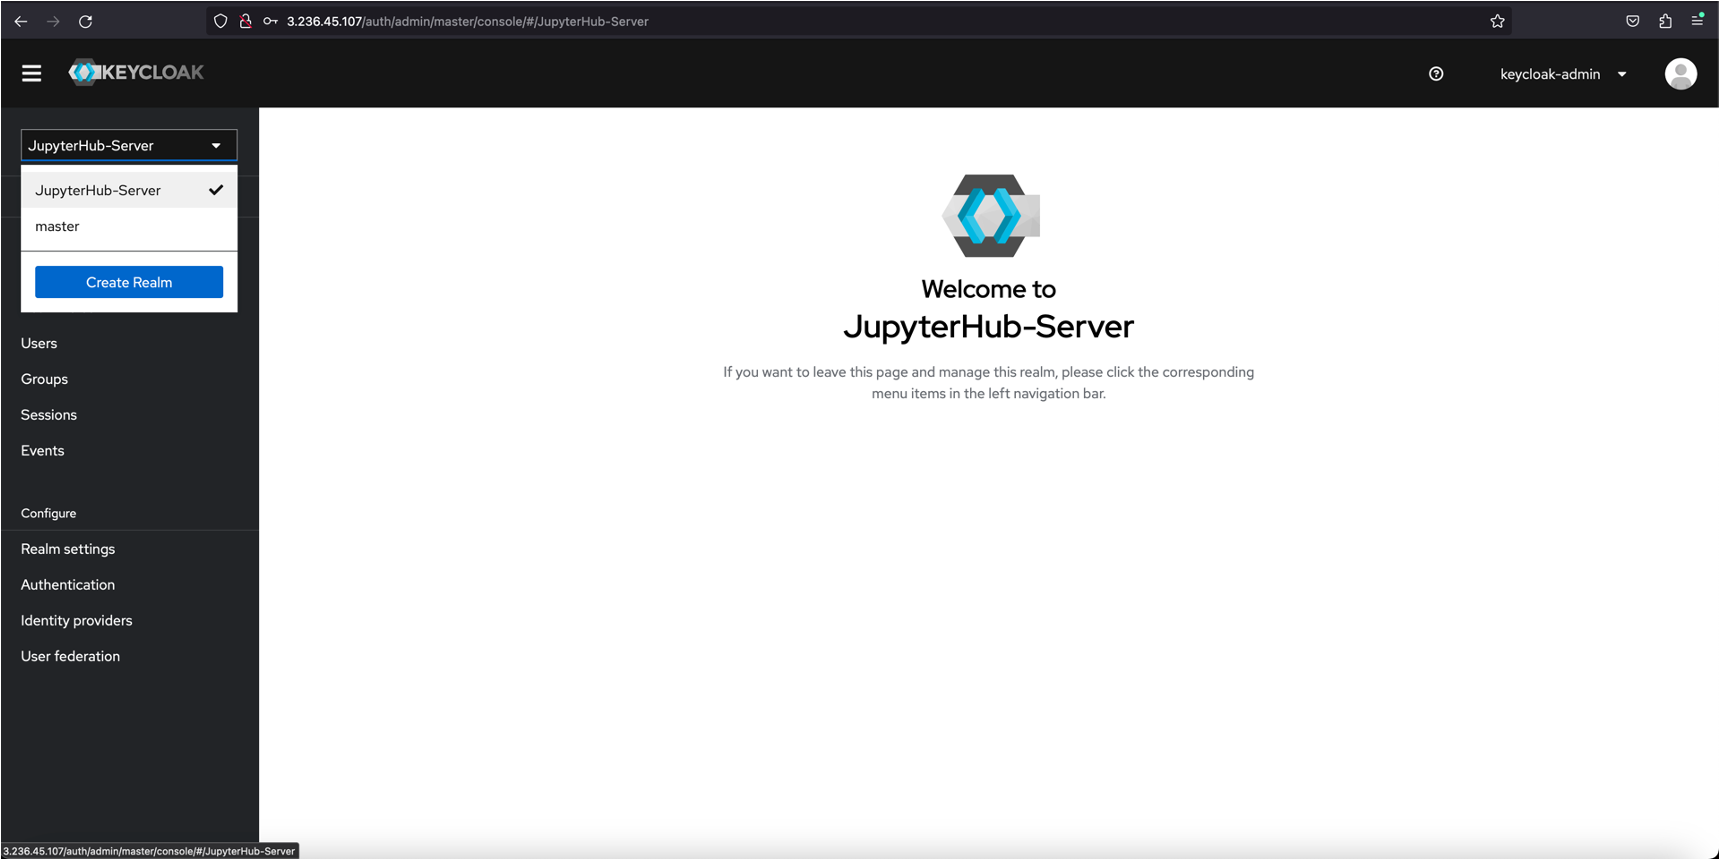
Create a new user
Section titled “Create a new user”Click Add user
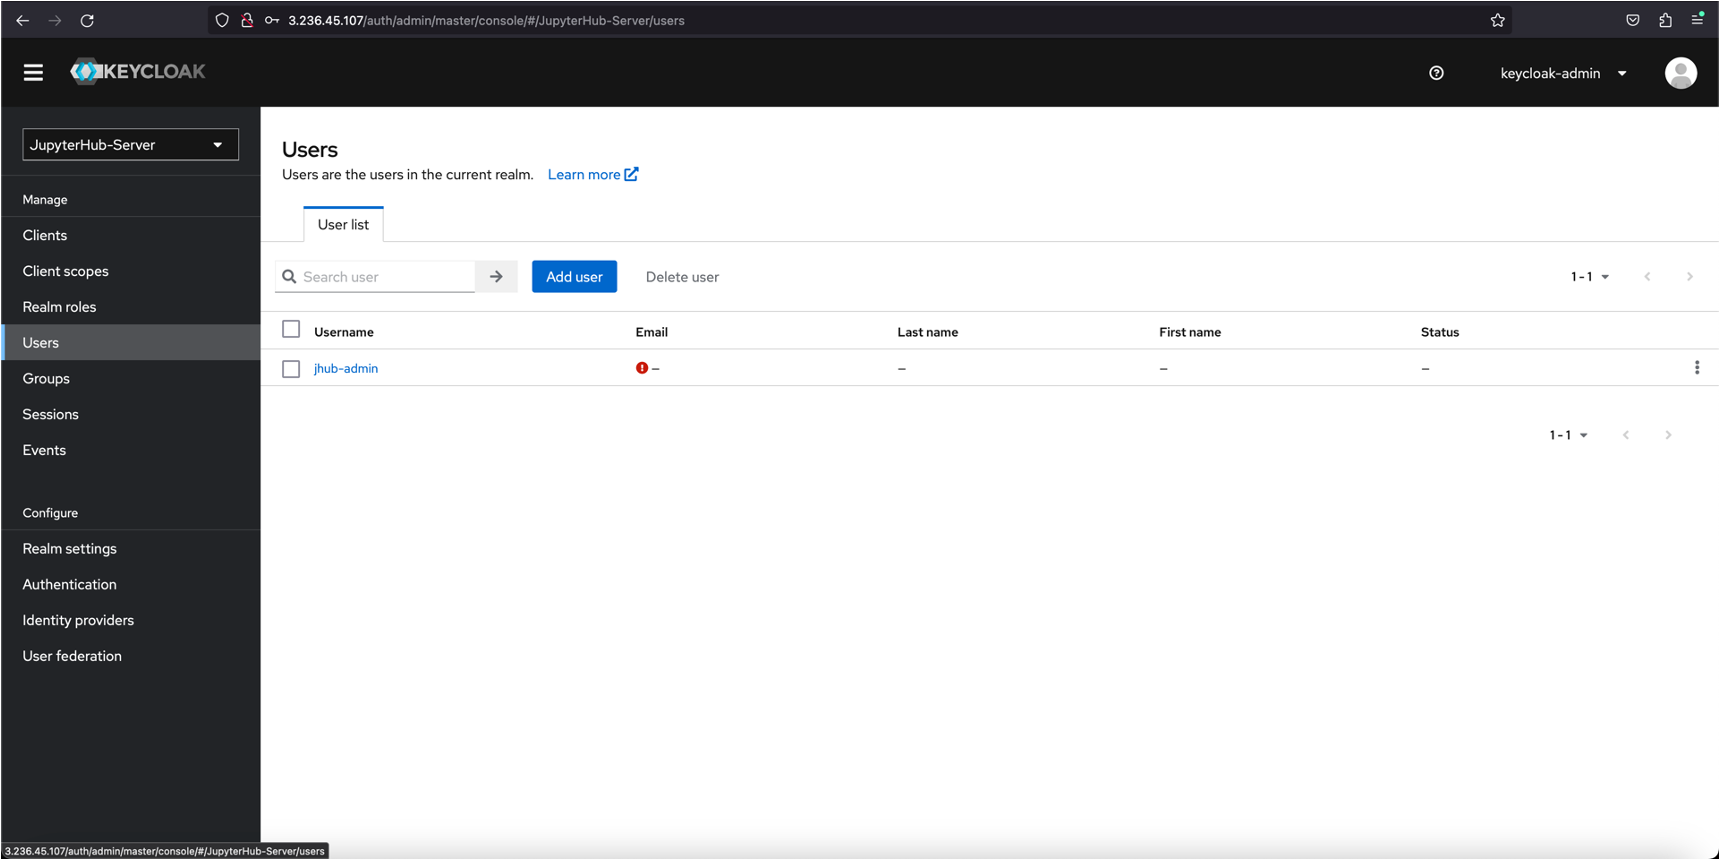
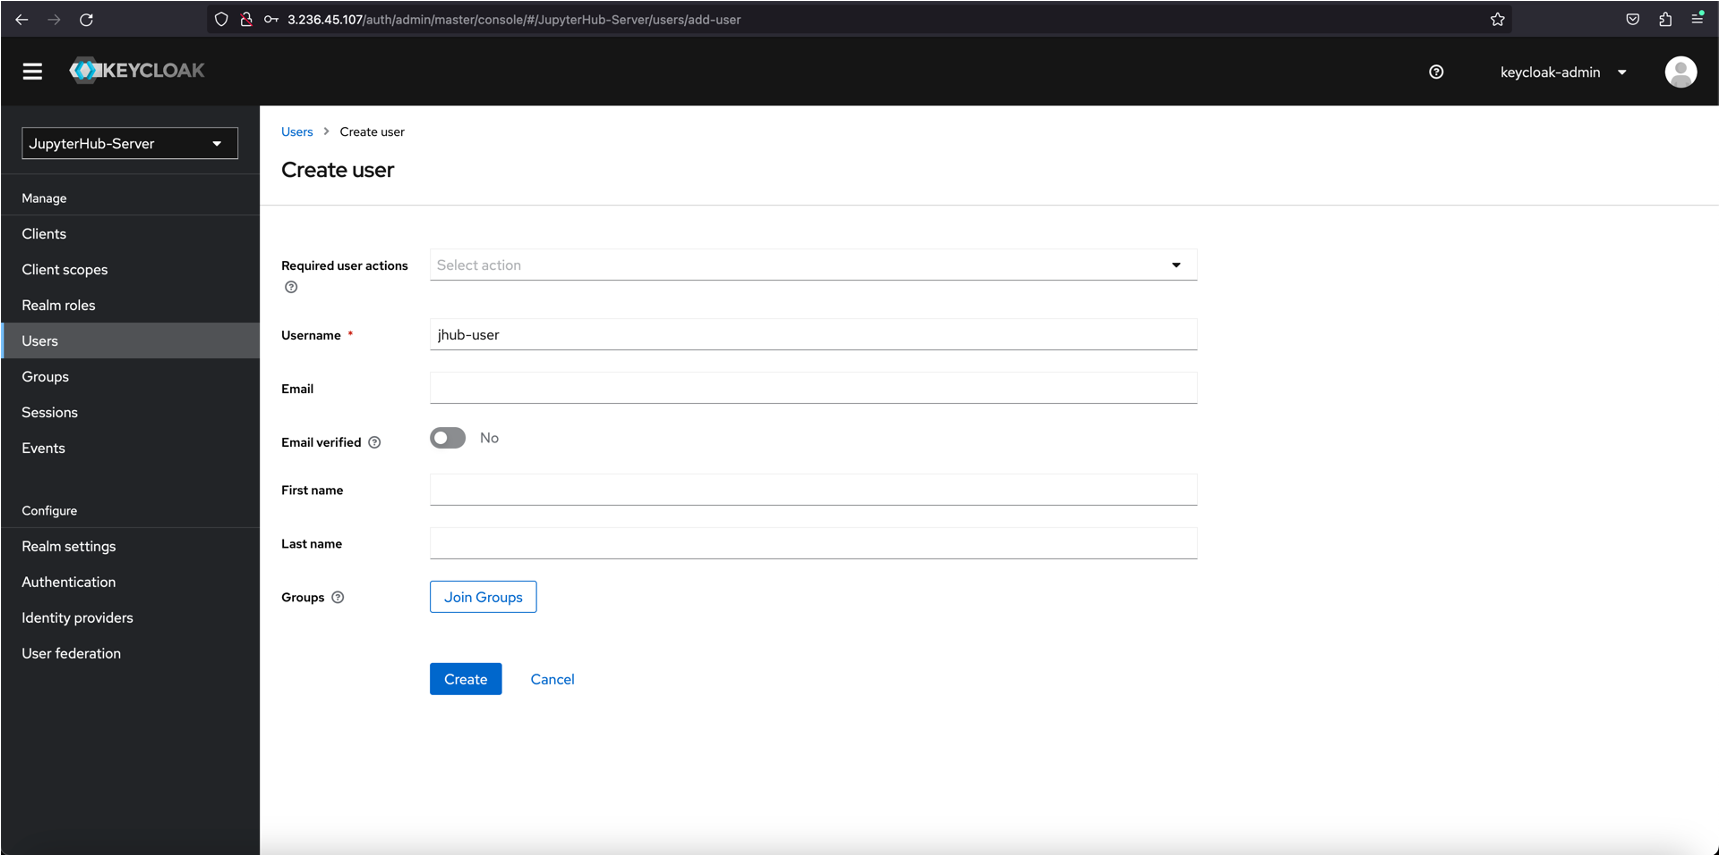
Enter username and click Create
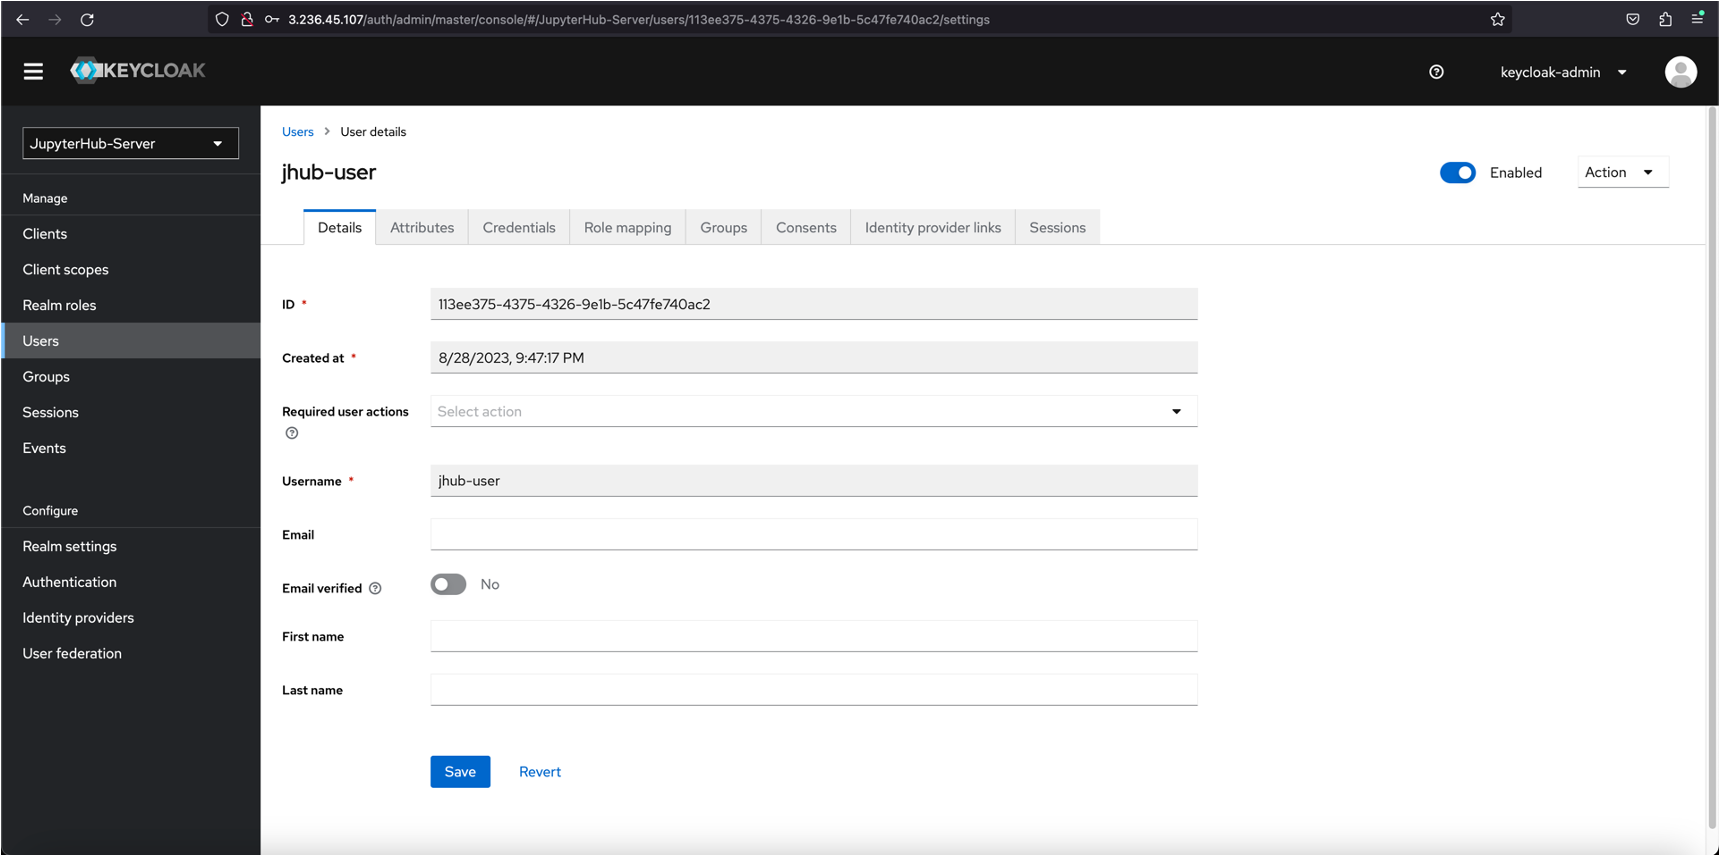
Click Save
Set password
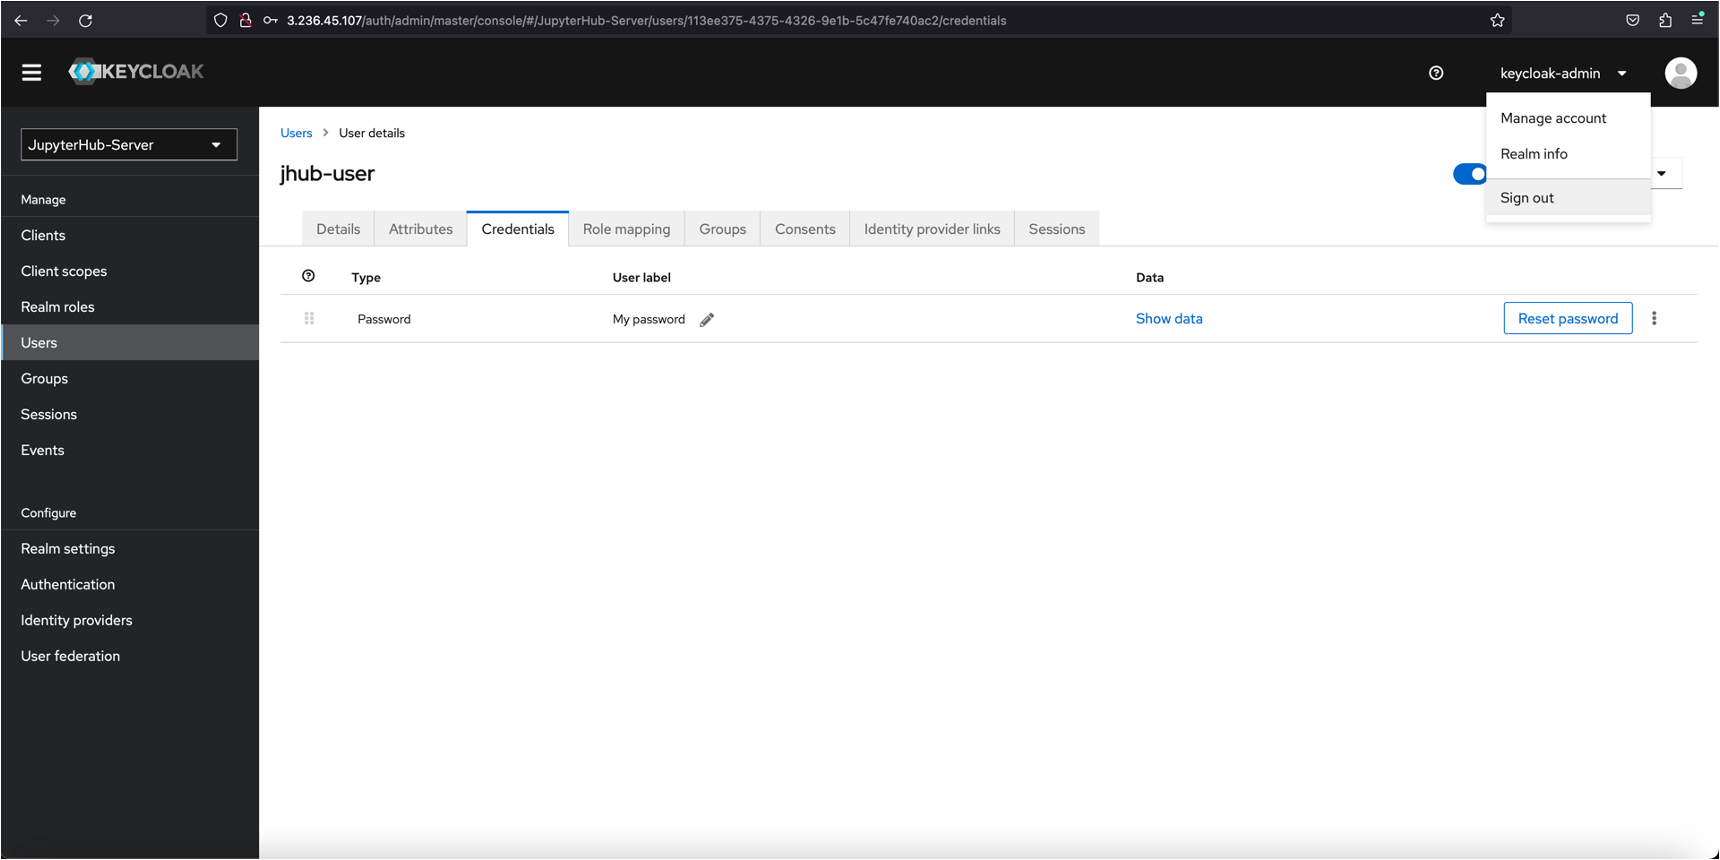
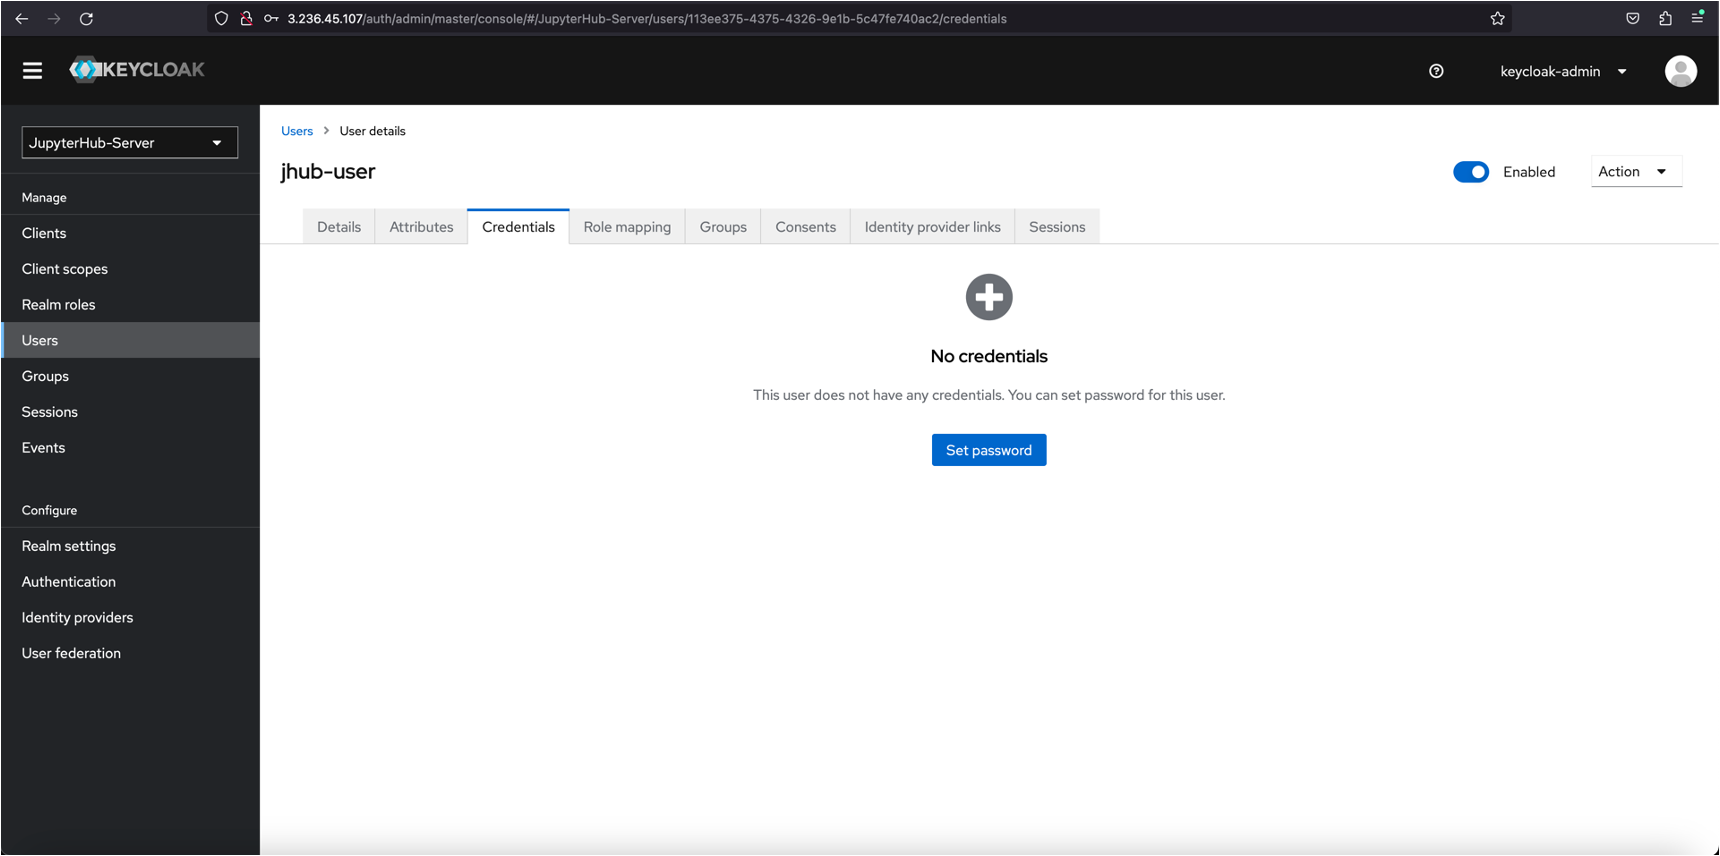
Section titled “Set password”Select Credentials and click Set password
Enter password and make it temporary such that the user will be asked to change it when logging in for the first time
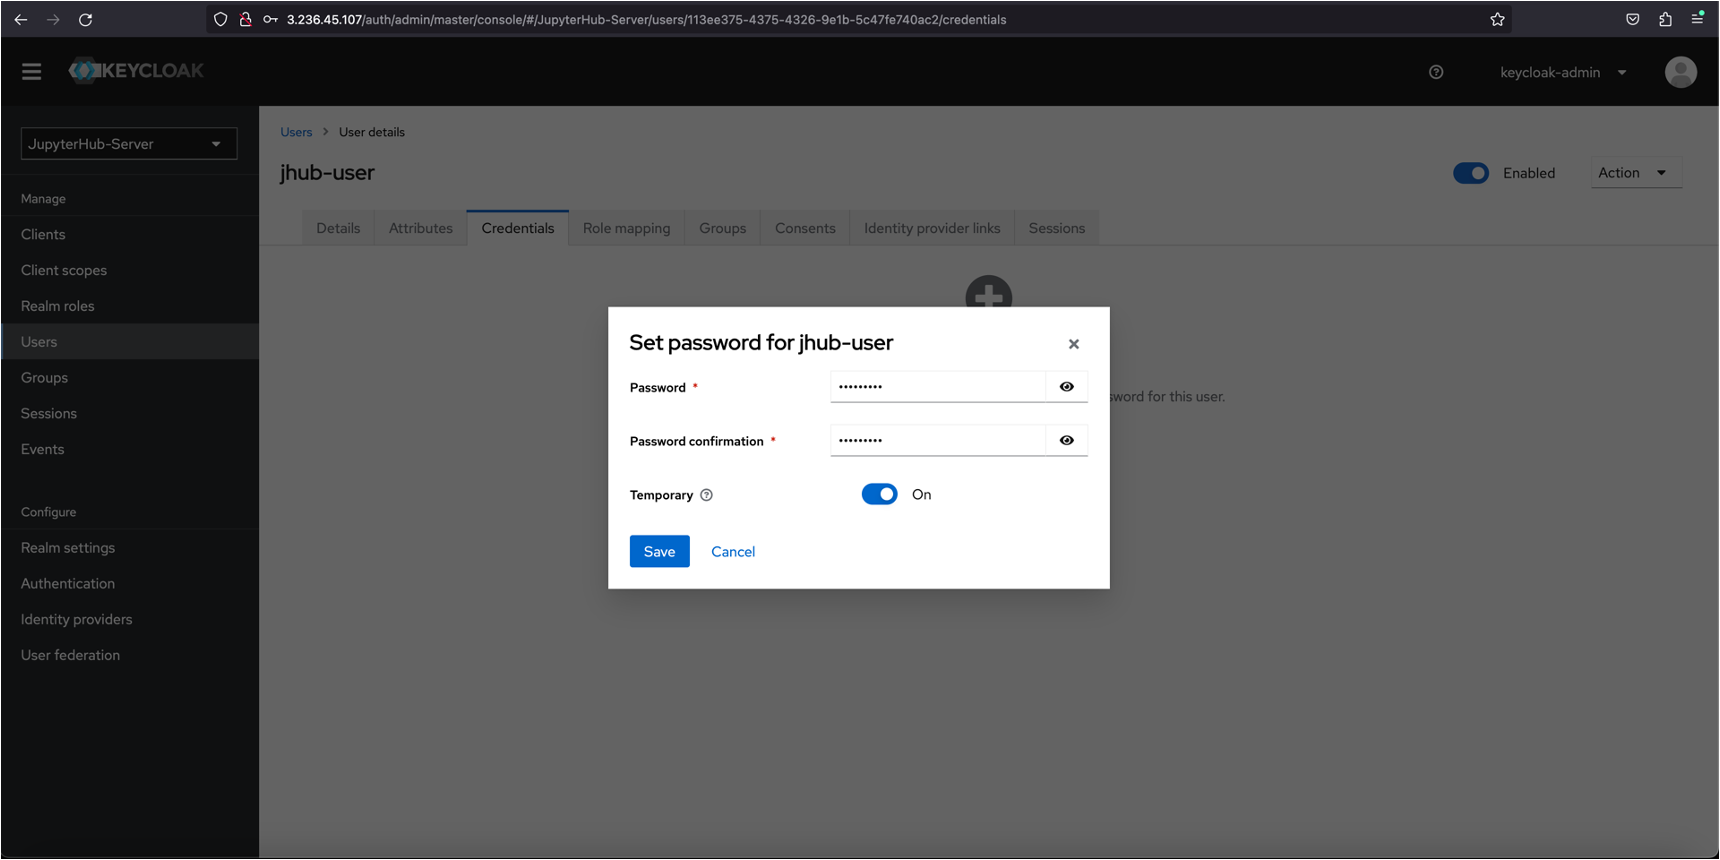
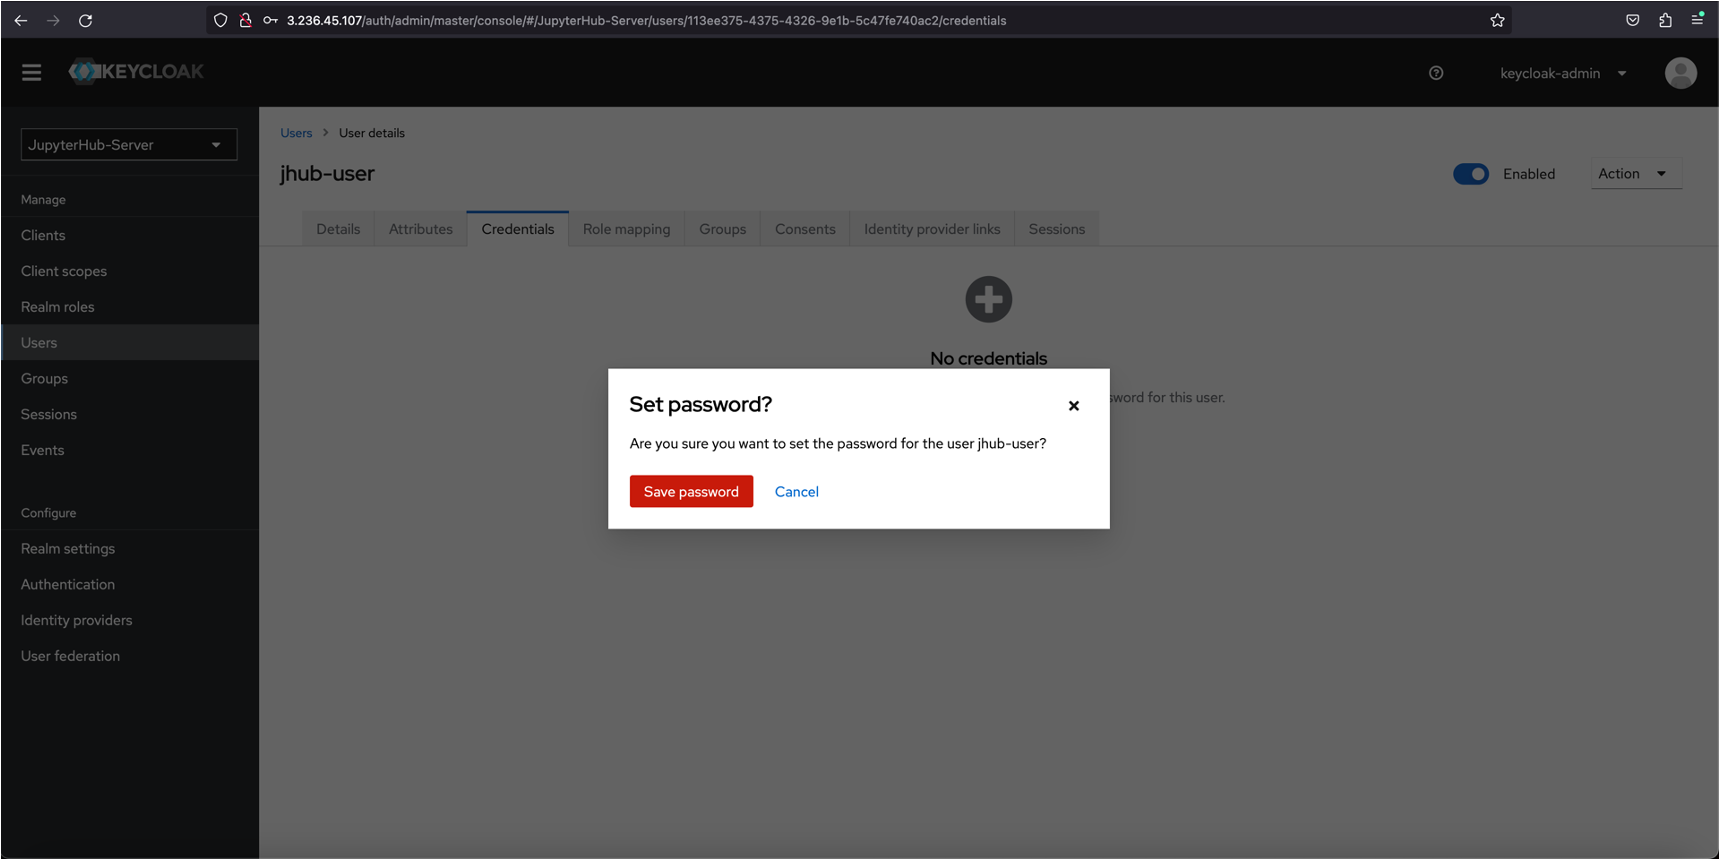
Click Save password
Logout
Section titled “Logout”